Magic…Dreams Do Come True

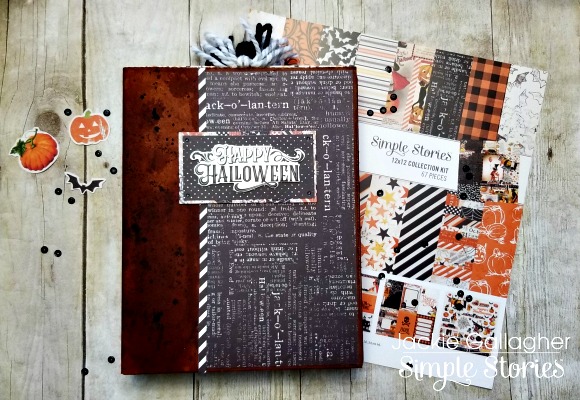
Hello everyone!! Today I have another fun mini album to share with you!!  I used the brand new Simple Stories Say Cheese 4 collection for this mini.  It measures 7” by 10” with a 2.75” spine.  I wanted this mini album to be fairly large so it can store TONS of photos!!  I did use a hinge binding system with pocket pages.  You can find a tutorial HERE from My Sister’s Scrapper.  All you have to do is adjust the measurements to your liking.

Magic 1

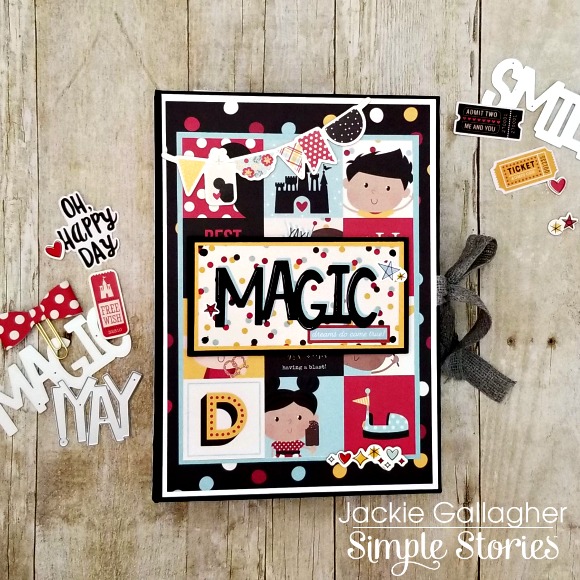
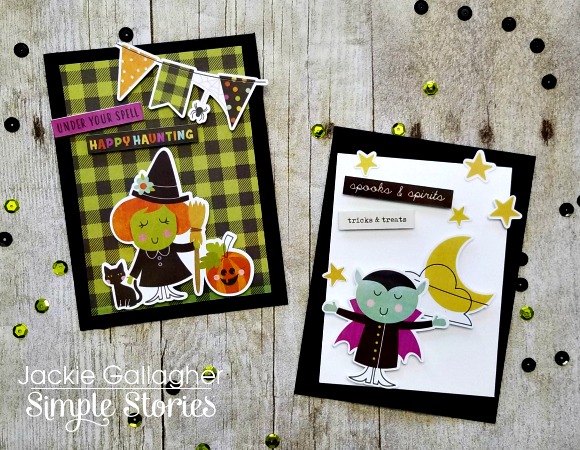
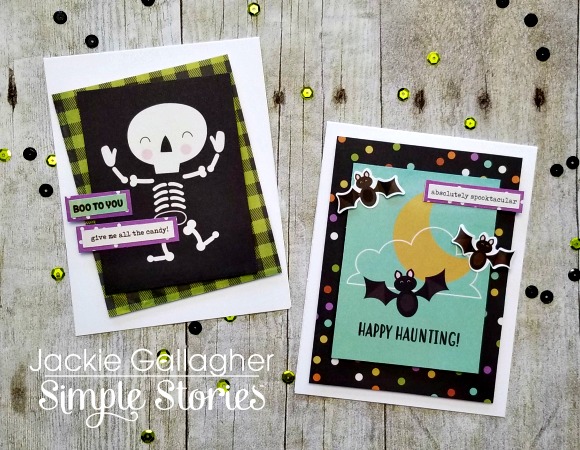
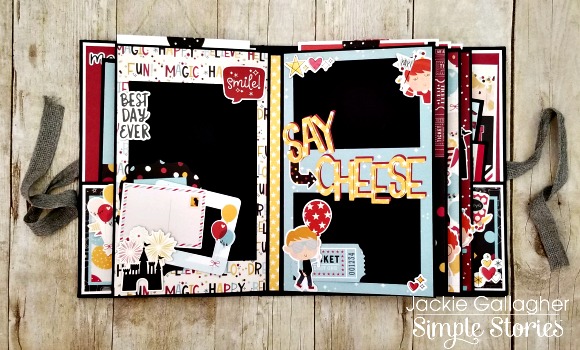
Onto the mini album!!!  I used lots of different Say Cheese 4 products with this collection!!  The first, and probably my favorite right now is the large word dies!!!  I have spread many throughout the album!! They are also very fun to use on cards!! Another favorite for this collection was the kids “bits and pieces”!!  I really wanted this album to focus on children so this product was a must!!  And lastly (besides loving it all), I love the coordinating solid cardstock to match the collection!!  How awesome is that!!

Magic 2

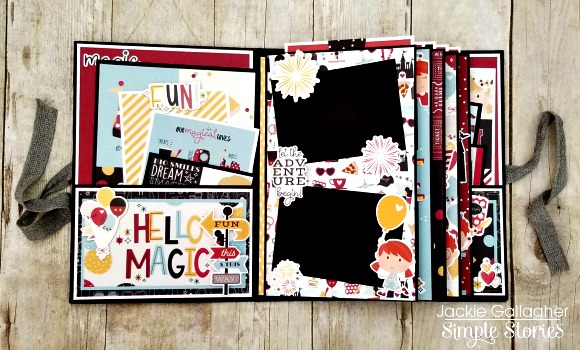
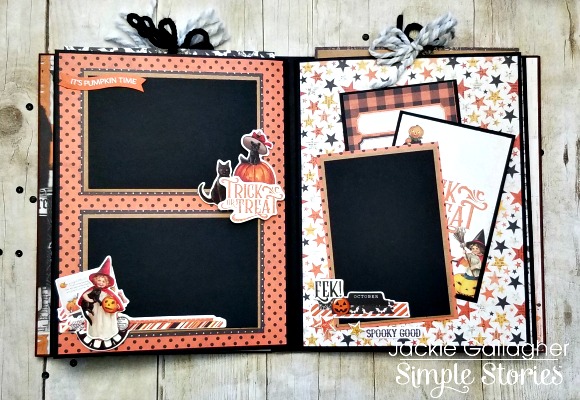
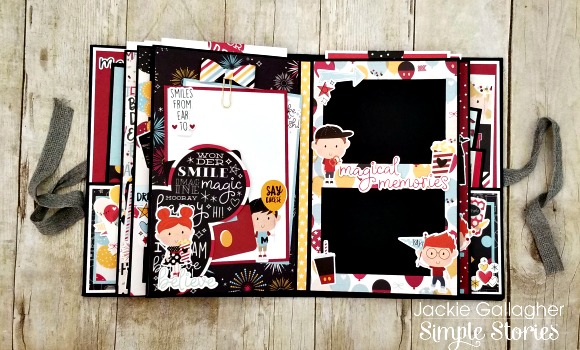
Both the inside covers have pockets on them to store additional photos or memorabilia.  I have put a handful of photomats inside of various sizes.  All the pocket pages have the same large tag you pull out from the top.  Another great place for extra photos and journaling.

Magic 3

I get asked this question lots…how do I put my photos in if elements are covering part of the photomat??  Super easy!!  I don’t put adhesive down on any part that touches the photomat.  That way I can easily slide in a photo.  This also makes it easy if you are giving a mini album as a gift.

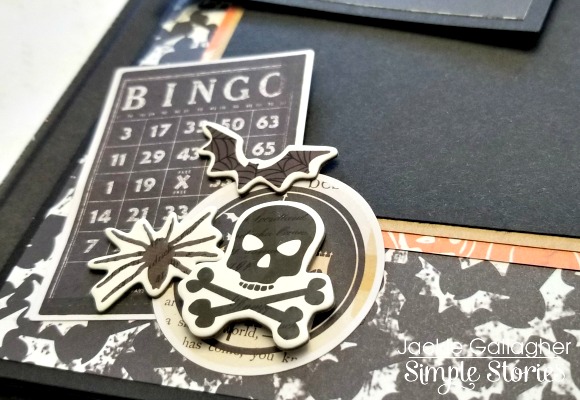
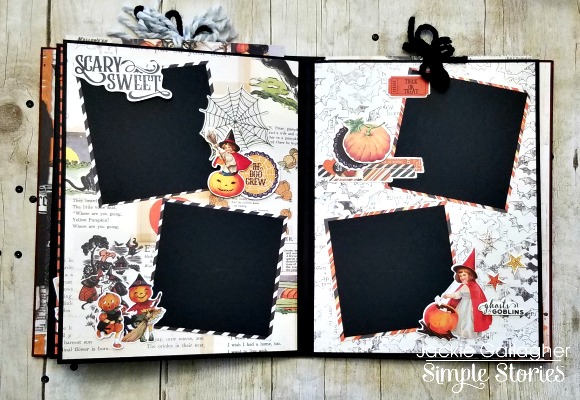
Lots of fun little frames and ephemera are tucked away behind larger elements.  This makes a fun interactive book.  Make sure to check out my Instagram page for a full walk through of this album so you can see exactly what I am talking about!!

Magic 4Magic 5

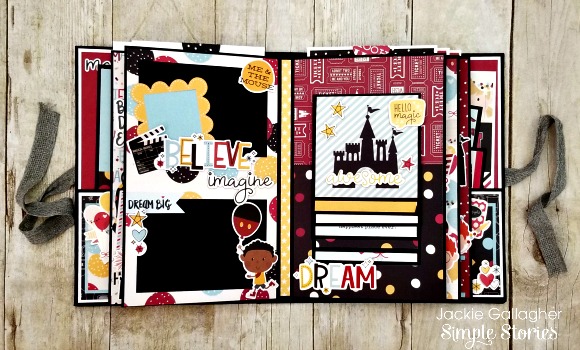
You can see I used more of those large word dies!!  To give some extra dimension, I did cut them out in two different shades and offset them to give a “shadow” look.

Magic 6Magic 7

I hope you enjoyed this magical mini album and found some inspiration to create something of your own!!  Have a wonderful day!!


P.S. I Love You

Christmas has come and gone…and the New Year has just begun. Valentine’s Day is just around the corner!! I have a fun and super quick project to share with you using the Simple Stories Kissing Booth Collection to help you get those Valentine’s treat boxes ready!!!

The first little box I want to share with you is this adorable 3×3 treat box with a built in card!! You can find the tutorial for this cutie over at My Sister’s Scrapper YouTube Channel. This little box is so incredibly easy and is perfect to store those little treats!! Great for those classroom Valentine’s!!

After creating this box I wanted something smaller that I could fit a giftcard inside…so I did some measurement testing and came up with this little holder. It’s the exact same thing as the treat box above but measures 2.5” x 3.5”.

For the box you will need a piece of cardstock measuring 3.5” x 9”. Score at 2.5”, 3”, 5.5”, 6” and 8.5”. To create the drawer you will need a piece of cardstock measuring 3 3/8” x 4.5”. Score at ½” on all four sides. Use the tutorial linked above to assemble the box. Tada!!

I hope you enjoy this fun little project to help you with those Valentine’s!!!

A Vintage Christmas

I am super excited to share this vintage inspired mini album using the gorgeous Simple Stories “Simple Vintage Christmas” collection!! I absolutely LOVE this paper collection!!!  It reminds me of my Grandmother and all the Christmas fun when I was little.  If you are local to the Phoenix area you can find this album along with the entire collection at Scraps of Love in Peoria and Sun City West!!  Get it while it lasts!!!!

This album is a simple pocket page constructed album consisting of only four pages and measuring at 6” by 7.75”.  With a 2.5” spine, each page has a half inch gusset to allow plenty of room for the layered chipboard frames.  These frames are simply gorgeous and made this album so easy to decorate.  You can find an easy step by step tutorial on how to construct this album over on My Sister’s Scrapper YouTube channel.

Like I said before, these layered frames are gorgeous, and I didn’t need to do much to decorate my album.  I did layer some stickers, bits and pieces, and some chipboard elements to each of them for some dimension.

For some added interest I did make one of my pages super big to allow my photo mat insert stick out quite a ways.

I hope you have enjoyed this mini album and are inspired to make a fun Christmas album for yourself!!

Color My World!!!

Hello everyone!!!! Today I am sharing the new “Crafty” set from Pink and Main It’s super fun and perfect to create cards for your fellow craft mates!!

I kept this card super simple and allowed the images do all the work for me!! Using only white and black cardstock and a scrap piece of Beach Babe patterned paper.

I wanted my card to be super colorful and the feeling someone just grabbed a ton of supplies and spread it out on a table. For some extra interest I took my red Copic marker to add a squiggly color line on the bottom of my card.

I hope you have enjoyed this fun and simple card!!!

Book of Halloween

Hello everyone!! Today I want to share a BIG Halloween album with you all using the amazing Simple Stories  “Simple Vintage Halloween collection!!”

I’m not joking…this album is BIG!!  Measuring in at 8.5”x11”!!  Halloween is my family’s favorite holiday, so I needed something massive to hold all our photos in!!  Do you celebrate Halloween??  What are your favorite traditions?  We love getting together with family, having a big cookout in the driveway to pass out candy…and of course taking the kids trick or treating!!

So because of the size of this album, I ended up using two collection kits.  I wanted my cover to resemble an old vintage book so I used plain chipboard distressed with some Tim Holtz vintage photo Distress Stain, making sure to really saturate the edges so they would puff up and curl a bit.  I also took some kraft cardstock and distressed that as well, including some splatters of black paint.  This was used for my actual spine.

Halloween 1

Each of my pages are pocket pages with the top opening for a large photomat to store lots of pictures!!

Halloween 2

I used regular flat stickers, chipboard stickers and the bits and pieces to decorate each of the pages!!

Halloween 7

Halloween 3

Halloween 4

Halloween 5

To give me lots of extra photo space I created a waterfall in the back cover!!  This is one of my favorites to put in a mini album because of how many photos you can fit into one.  Plus, you can customize it to whatever size you need.

Halloween 6

I hope you have enjoyed this BIG album and it has inspired you in some way!!  Thanks for stopping by!!!

Wow! Embossing Blog Hop

Hello everyone and welcome to the Wow! Embossing Powder Blog Hop collaboration with Pink and Main!!  I am so excited to share a fun little project I created using these amazing embossing powders.  If you have come from Donna’s blog then you are in the right place!!!!  If you happened upon my blog and want to participate, head on over to the Wow! Embossing Powder Blog to start hopping!!!! Before we get to my project let’s talk about the blog hop details and prizes!!  They are some exciting ones!!

As you hop along, make sure to comment on each of the blogs for your chance to win an amazing prize!!  The winner will receive a $25 gift certificate to Pink & Main store, 6 embossing powders and a carry case to the WOW! Embossing Powder Store.  The winner will be announced on October 22nd.  Enjoy!!

So let’s get started!!!!  I paired up some amazing embossing powders with the brand new October release from Pink and Main.  Definitely make sure to keep an eye out for their release next week!!!

Wow1

I decided to make my own background using some of the lovely Metalline First Frost (WG05R) embossing powder.  It is such a soft color and worked well for my background.  I used it for both my gift bag and matching card.

Wow 3

I also used the gorgeous Primary Pink Robin (WH26R) embossing powder for the bow on my gift bag.  This pink is absolutely stunning and was a perfect pop of color!!!

Wow2

I hope you have found some inspiration to use some of these embossing powders!!!  You’re next stop is Jaine!!  Enjoy your hopping!!

Wow Hop

Here is the blog line up in case you get lost!!

WOW! Embossing Powder 

Pink & Main

Andrea

Ankita

Dana

Donna

Jackie **YOU ARE HERE**

Jaine

Jeannie

Jo

Julie

Kathy

Kimberly

Laurie

Lynnea

Michelle

Olga

Raluca

Riikka

Tracy

Yasmin

Zsofia


Hello Fall

Hello everyone!!  Today I am sharing a fun card using some Pink and Main products with you!!  We are finally getting some “fall” weather down here in Arizona so this card was perfect to celebrate!!!

I wanted a very soft look for this card so chose a simple white background paired with the Basket Cover Die also cut out in white.  I then cut out the Wreath Base Die in two different green colored cardstocks.  Using my alcohol markers and white gel pen to add some extra details to each leaf.  I then nestled in my little hedgehog creature from the Fall Friends stamp set into the bottom of the wreath.


Last I cut out the “hello” from the Wreath Base Die for my sentiment and added some flying leaves throughout the card.  I hope you have enjoyed this fun little fall card!!  Thanks for stopping by!!


Eskimo Kisses…

Hello everyone!! Today I am sharing a fun Pink and Main winter themed shaker card with you!!!  I had so much fun creating this card.  Shaker cards are one of my favorite types of cards to create!!  How about you??

For my card today, I used the Eskimo Kisses stamp and die set.  Pairing this set with the stitched rounded rectangle die and scalloped waves die.  I even pulled in some ocean waves paper from the Beach Babe paper pack to set my scene.


I wanted my card to have lots of dimension so placed one of my snowy scalloped hills and the igloo on the inside of the shaker card.  I then attached another layer of scalloped hills on top of the shaker window.  This was a perfect place to pop up my adorable little polar bear, eskimo and dog!!

One of my favorite things to do with a card is to continue the scene onto the inside.  It’s definitely not as elaborate as the outside but some fun for the recipient to open and find!!

Thank you so much for stopping by!!  I hope you enjoyed my card!!!

Boo To You

Hello everyone!! Today I have a fun set of Halloween Cards using the fabulous “Happy Halloween” Simple Set by Simple Stories. I am so incredibly excited for Halloween!! It is my favorite holiday!! How about you?? I can’t wait to send these spooky cards out to family and friends!!

Boo 7

Boo 3

I decided to make a set of six cards and a matching box to keep them all in!! These little boxes are so easy to make!! Perfect for those larger scrap pieces you have left over!! You can find lots of tutorial on YouTube!!

Boo 1

Boo 2

The first two cards I decided to use black cardstock for the base of my card. I love being able to write my note in a white gel pen. I find small details like that make it extra fun for your recipient!! I made sure to use lots of foam tape on my stickers to give extra dimension!!

Boo 4

On the next two cards I cut apart some of the journaling cards to use as my embellishments. Again, using lots of foam tape for dimension. I’m a chunky crafter and feel a card can never have “too much” dimension!! Sometimes it requires extra postage…but that’s okay!!

Boo 5

The last two cards I used journaling cards as my main embellishment. These two cards are much simpler than the others but still just as cute!!

Boo 6

Thank you so much for stopping by. I hope you enjoy these fun and spooky set of cards!! Make sure to pick up your own “Happy Halloween” Simple Set and craft away!!!